  |
| |
| Installing | ||
Server Upgrading | ||
Server UpgradingHow to Upgrade Permanent Licenses 1 - Confirm upgrade protection Check that you have valid Upgrade Protection at: My Account
2 - Download Then download the latest version of neatComponents from this link:
3 - How to Install Save the file to your server*. Once the file is downloaded, simply double-click to execute the file, and it will upgrade your installation. * Choose somewhere where it can remain (which means your Desktop may not be the most convenient place). Don't move, rename or delete the file once you have run it, as it will be referenced again (to do a transparent uninstall) when you perform an upgrade next time. There is no need to manually stop services or anything - just double-click the file that you saved. Then, follow any dialog prompts from the installer. There will be a long pause after you execute the file while the upgrader closes your running service and reviews your current settings. The upgrade process will then start automatically.
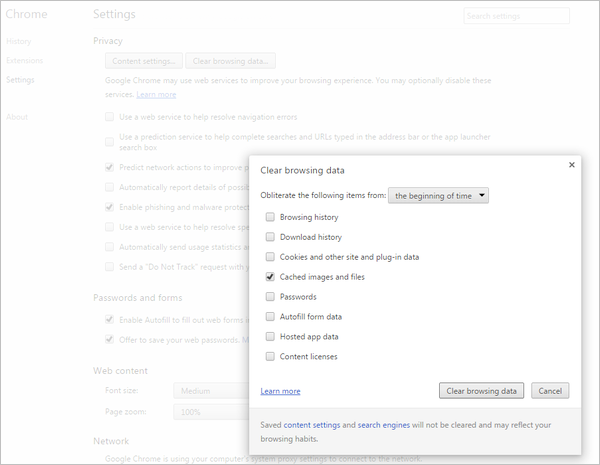
After upgrading - 'clearing the browser cache' Your web browser will cache the configuration dialogs used in neatComponents settings. After upgrading you should clear your browser cache to update these files. The method is similar in all browsers. Close all open windows, and then open your browser but before logging into your site - clear the browser cache. Chrome Select the tools menus ☰ Settings | Privacy | Clear browsing data and select only [x] Cached images and files
Firefox Use ☰ then open the Options dialog and select Privacy & Security.
Microsoft Edge Select [...] then Settings, then Privacy & Security
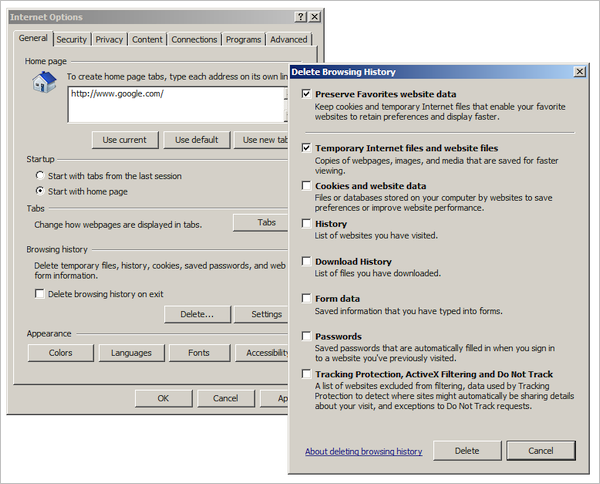
Internet Explorer Select Internet Options then General | Browsing History - [Delete] and select only [x] Temporary Internet files and website files
|
Additional Resources |
| Installing and Support |
|
Copyright © 2026 Enstar Systems Inc. All rights reserved |