clearString neatComponents
| |
clearString neatComponents
| |
|
clearString neatComponents The Layout Manager - Changing the Layout |
| Getting Started | ||
The Layout Manager - Changing the Layout | ||
The Layout Manager gives you access to the navigation and other fixed and repeating elements that appear on multiple pages within the website.
To demonstrate, we want to make a simple change to give your website a new name. The first step is to open the Layout Manager.
Use the Toolbox to access the Layout Manager
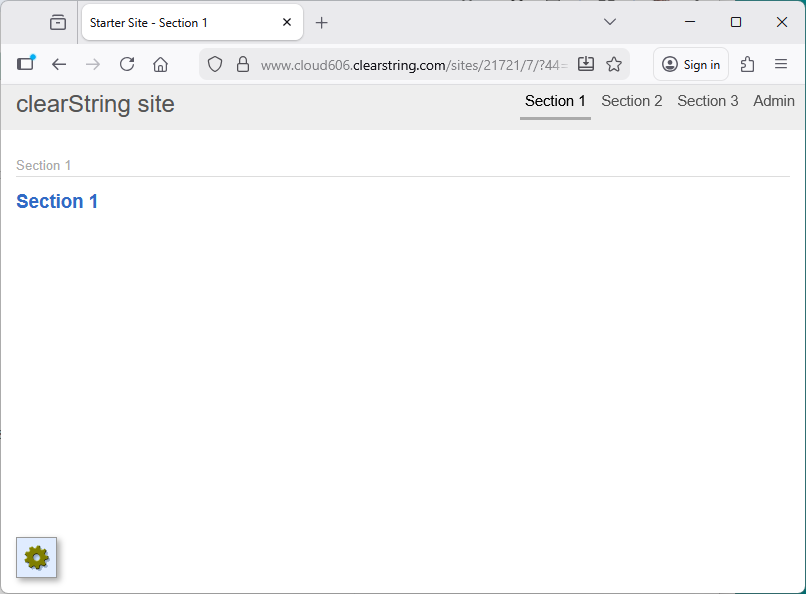
Locate the Toolbox icon
![]()
Tip: Remember - you must be logged in to see the icon.
Mouse over the Toolbox and click on the Layout Manager:
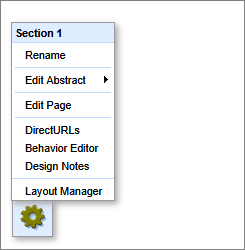
The Layout Manager will open, in a new window. You will see two main tabs - Pages and Layout.
The Layout Manager opens to the Pages-tab where you manage the site structure (we'll be looking at that next), and beside it is the Layout-tab is where the overall appearance of the site is managed.
Select the 'Layout-tab' in the Layout Manager.
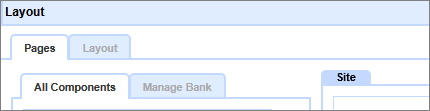
and the Layout dialog will open.
Modify the Layout Elements
All we are interested in at the moment is introducing you to the control so you can change the name of the example site from 'clearString site' to 'Hello world'.
How to edit the 'Site Name'
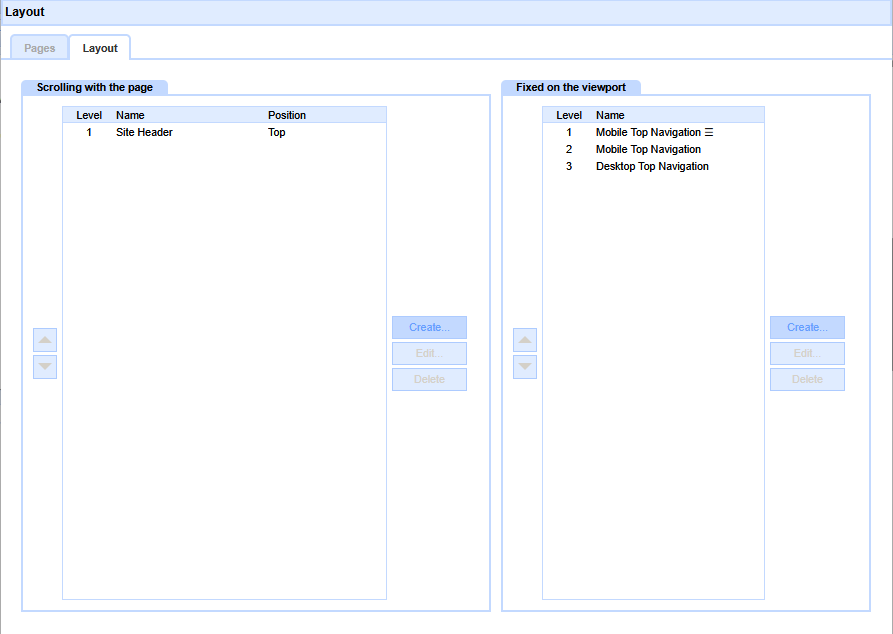
The site name is held in the Level 1 Layout Element, which is a 'Top' element - it has been called 'Site Header'.
Select, then click the [Edit] button, and the dialog will change to the view below.
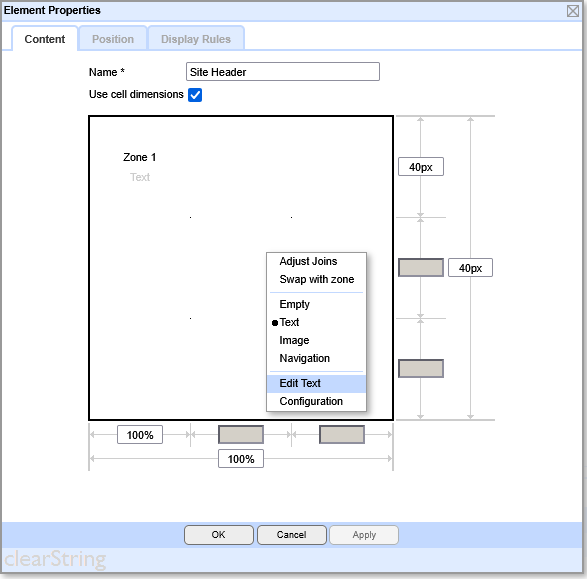
Right-click in the 'Zone 1' area, and select Edit Text from the context menu. The Text Editor will open.
Change the text to read 'Hello World', and then Publish (Save) the change.
Press F5 to Refresh the website - and you will see the name of the site has changed on all pages.
To return to the previous dialog box, click the word 'Layout' in the top-tab.
You can now close the Layout Manager window if you wish, or leave it open to continue with this Quick Start as we see how to use several of neatComponents advanced features.
![]() Now, let's add a new component...
Now, let's add a new component...
Below the line
Advanced configuration advice
There are full details on working with the Layout in 'The Guide': the techniques are explained here.
Display Rules tab
The Display Rules tab allows you to control which user groups gets to see each Layout Element. This is major control and is used to automatically adjust the appearance of the App or Site depending on the audience.
Styling
You will have already noticed that the layout element can be Text, Image, Navigation or left Empty. You will see that the Level 2 Layout Element is set to Navigation. You can explore these settings by selecting that Element, right-clicking and then selecting [Edit Zone Style]. Expand the views:
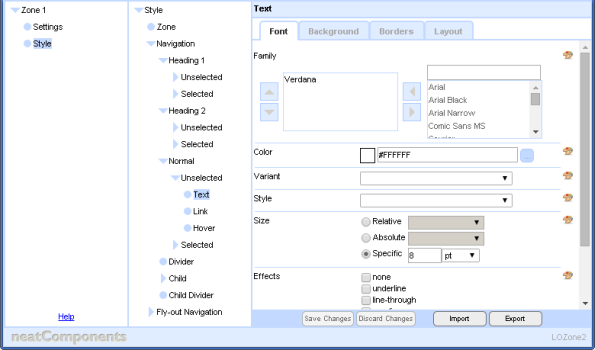
This will give you an indication of the fine control available throughout.
The Layout dialog is capable of much more than the simple example we have used above. Layout controls can be fine tuned into multiple zones, tiered or arranged around the work-space, and set to be Images.
Component-by-component Behavior Editor settings can control which Layout Elements are shown at given positions in the site - there is no limit to your creativity.
Permission controls govern who sees which Layout Elements, and you can control Layout Elements by the originating request, or destination domain - allowing sophisticated affiliate-site and multi-lingual site construction.
Timing controls allow you to fade in elements.
Want to try an Image?
Inserting an Image into a Layout Element will have that picture shown on every page of the site. A typical example is a 'banner' image at the top of the webpage.
Try it yourself - when we have finished the Example, come back here, then:...
Set the top zone (zone 1) to be an Image Zone, and upload a suitable image (at least 1024px wide)If you need a suitable graphic for the Top layout element then you can use this one:
You can download a full size version to your own machine and then use it from there: Click here to download then 'Save as...'
Creating your first app In this section |
|
Creating your first app
We learn how to change the standing content that appears on multiple pages, as part of the layout. In this section: |
|
 What are we learning here?
Copyright © 2026 Enstar LLC All rights reserved |